Planning for Success: How to Get the Most From Your Garden
Garden planning is necessary if you want to get the most out of your kitchen garden …
Choose the right crops, know your growing season & design your garden to suit your site to maximize yields.
The best time of year to plan for your garden is during the off season. What better way to spend a cold, dark January than by reading seed catalogues and learning about soil health!
Choosing a Site for Your Garden

A great location can make all the difference in the outcome of your garden. Poor soil can be improved, but there isn’t much you can do about your neighbour’s massive Manitoba Maple overshadowing your yard.
In many municipalities by-laws exist about where you can establish a garden – so be sure to check there first. Once you get the green light to do so, start evaluating potential sites on your property.
We lived in an established older neighbourhood in the city with a narrow lot that was overshadowed by mature trees & multistory infills before buying our farm. My solution at the time was to stick with a container garden & I had extensive plans to terrace the roof of the garage & plant our garden up there!
As luck would have it, I discovered an amazing opportunity to rent a plot of land just outside the city & I chose to move our garden there instead.
Making the Most of What You Have
Don’t be afraid to think outside the box if your site isn’t ideal. I also considered canvassing the neighbourhood for willing hosts who would share their yards with me, & I investigated local community gardens in my city. There has never been a better time to get into urban or suburban gardening!
When you are evaluating a potential site consider a few of the following:
- Sheltered from the wind
- Direct sunlight exposure for at least 8 hours a day
- Good drainage (i.e no standing water)
- Away from trees whenever possible
- Flat or gently sloping towards the south
Infrastructure considerations aren’t necesarily a deal breaker but it’s always nice when your site includes at least a few of the following:
- Proximity to a water supply
- Access to a shed for storage
- A loading & unloading area
Depending on how much land is available to you – it might be tempting to turn every last square foot into garden space – but don’t be so quick to do so. A well managed small garden can absolutely be as productive as a poorly managed large garden – or more so!
If you are like us & your aim is to feed yourself year round then plan for about 2,500 sqft for a small family. Depending on your skill level & the quantity you aim to produce that area might be a bit smaller or bigger though.
If you don’t have a 50x50ft yard to convert – don’t despair. I have gardened in a plot as small as 8x8ft. It’s important to remember that anything is better than nothing & even a small garden (or a garage roof!) can help offset your grocery bills & provide a rewarding outlet & hobby.
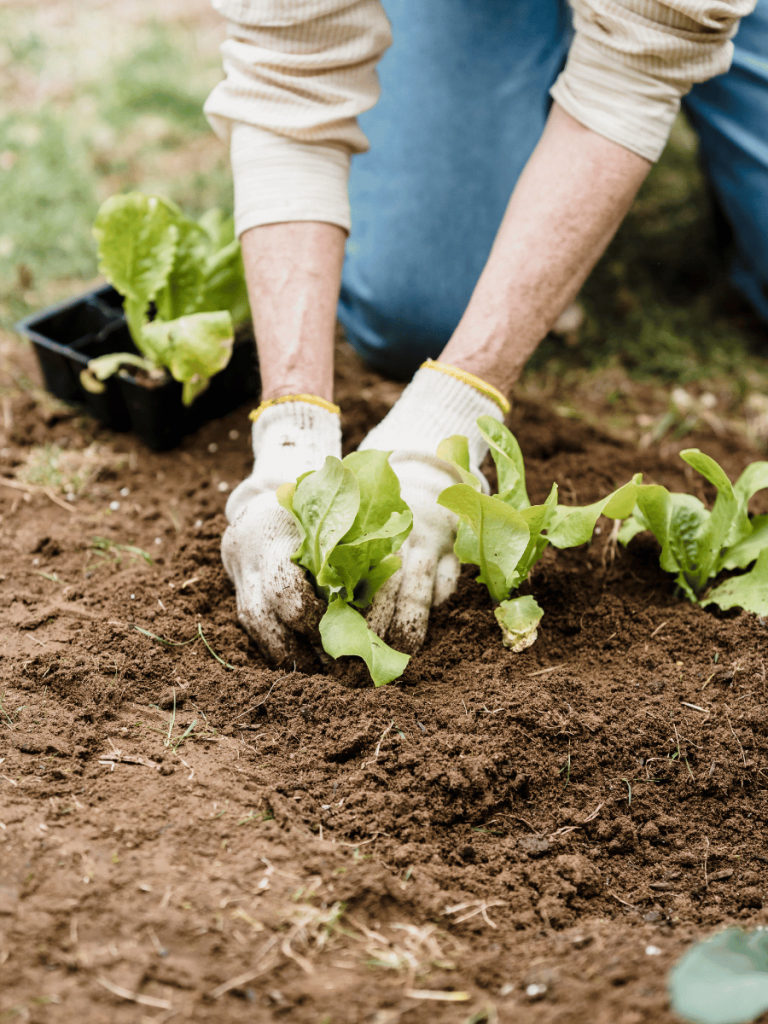
Establishing a New Garden Bed
The old way of thinking would be to till the sod, plow it or turn it under by hand. The merit in this thinking is that the sod would break down and expose fresh soil as a planting medium for your crops to grow. Critics of this practice believe rototilling is harmful for the beneficial organisms living beneath the surface of the soil.
Emerging wisdom from conservation-minded gardeners of all scales is to leave the sod in place and plan to build your garden above it. Doing so leaves the delicate soil biology in place & encourages populations of beneficial fungi to thrive. If you want to know more about this method & how to implement it, check out Charles Dowding on Youtube! We have spend hours learning from him & his videos!
Here at our own farm we have used both methods. I find a mix between the two works best for us. The volume of compost we needed meant it wasn’t feasible to have premium compost delivered. If you live within proximity to a landscaping company then you would definitely have better luck. When you live on a farm though, it often means making due with what you have on hand – because nobody is paying for a dump truck full of compost to drive an hour out of town!
Using Livestock to Do the Hardwork
Our garden planning began over two years before we ever planting a thing! We determined where our garden was going to go and fenced in our pigs for a season at that spot. The pigs were brought off the site in December and it sat for the rest of winter. In the spring, we laid down more straw, levelled out the disturbed ground & filled in the wallows they had dug. They did a great job ripping up the sod & eating the quack grass roots.
We layered new sheep manure on-top of that ‘bedrock’, fresh hay, old manure, and old straw on top of the fresh. We also incorporated spent brewers grain & aged wood chips because we had it on hand. Then we planted into a surface layer of composted aged sheep manure. We also included composted chicken manure where we knew our “hot” crops would go.
This method is called “lasagna gardening” but I like to think of it as a layer cake!
Don’t Skip the Soil Science!
If you’re not sure about what the soil you will be planting into consists of, now would be a great time to do a quick soil test. A soil test will help determine what type of soil structure you have & identify necessary amendments. It’s a good idea for the first few years to do an annual soil test. Once you have implemented a good crop rotation & amendment schedule you can test periodically.
We’ll go into more detail on soil testing & amendments in another post. For now, it’s enough to say that you can plant without doing one – but your yields will be that much higher. Know what kind of soil you are working with & plan your garden amendments accordingly.
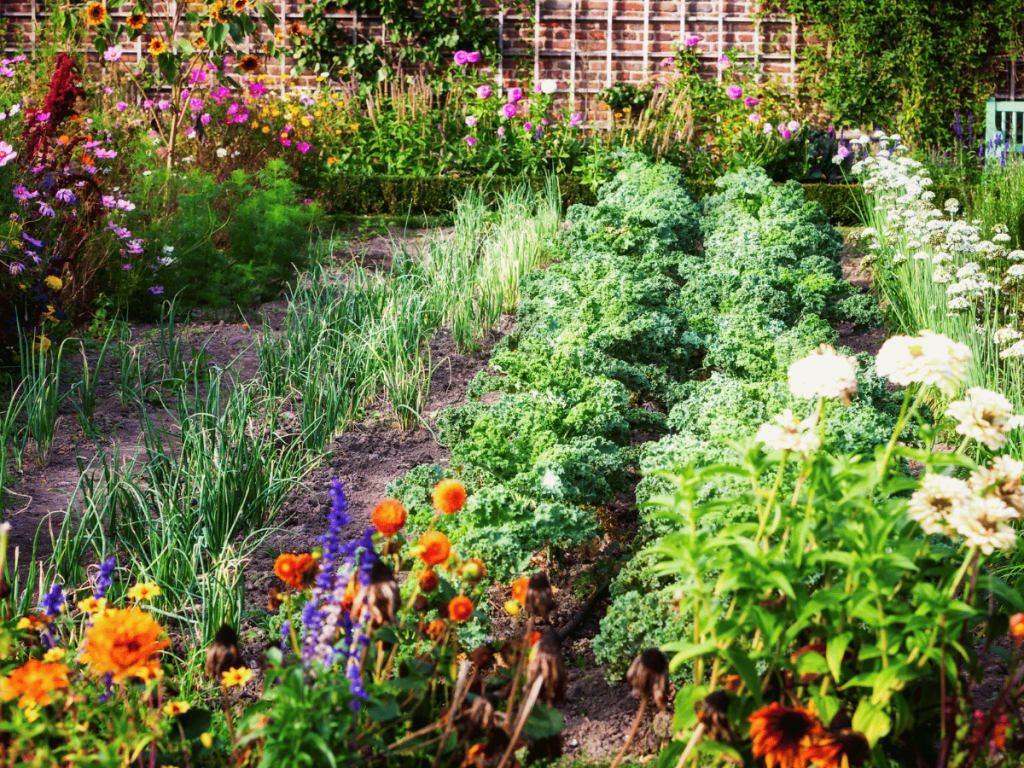
Choosing the Right Crops
If you’re anything like me you want one of every possible variety available & in all the fun colours. It took me years to realize that I was planting crops we weren’t eating in our diet. Unless you’re planning on giving produce away only grow what you’ll actually use in the kitchen.
Look through your favourite cookbooks and keep a running list of the produce used in all your go-to recipes. This isn’t a hard & fast rule – but it’ll give you a good place to start. You can always include a new crop or two to expand your palette once you get a few years of growing under your belt.
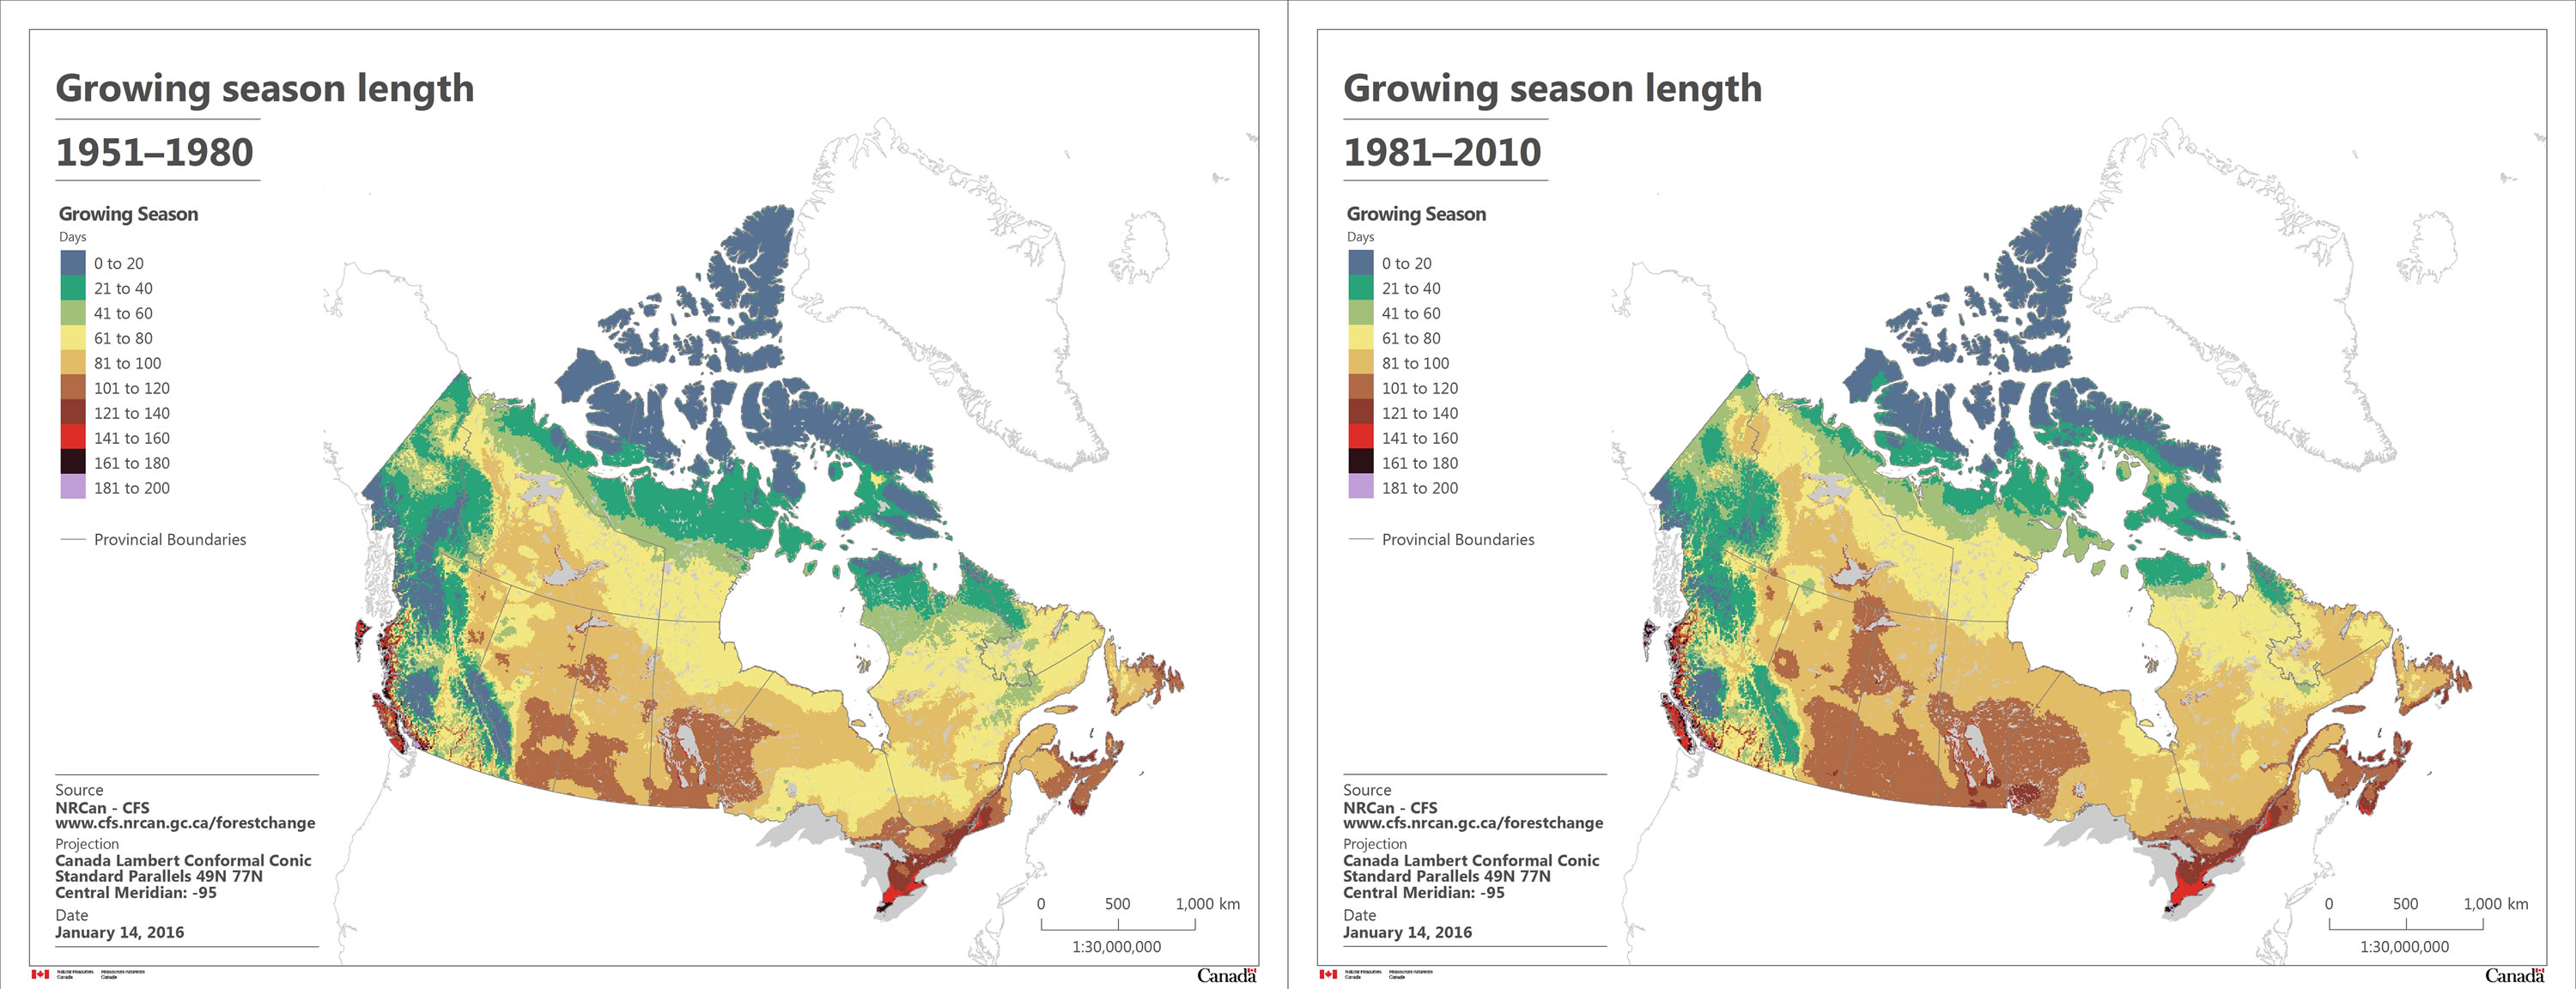
Consider the Climate in Your Garden Planning
The next step in determining your crops is to consult a plant hardiness map. Find your approximate location, learn when your last frost is & when to expect the first frost. The time between these two dates is your growing season. Many local garden centres will have this information readily available to assist you.
If your site location is on the north slope of a hill, or in a low spot, or has shade throughout the day – consider bumping your hardiness zone down one or two categories to avoid issues with your site’s “microclimate”. The same holds true if you are on the south side, have a sheltered site or full sun exposure; you might be able to get away with bumping your zone value up & growing something typically found farther south.
Choosing the Right Varietals
When you are considering varietals to grow, most seed vendors will include a ‘DTM” value. This is “days to maturity” and is an approximate estimate of how long it takes from sowing or transplanting to harvest.
Here in central Alberta I focus on short season crops no longer than 120 days. I always opt for “early season” maturity to give myself the best chance of getting a crop before the frost in September.
Looking deeper at varietals, you may see some labelled as F1 or OP. These are either hybrids or open pollinated varietals. I prefer to work with open pollinated varietals in case I decide to save any seed. F1 hybrids however are usually chosen for their high performance characteristics – making them a good option for beginner gardeners.
A hybrid seed is a breeding cross between two or more varietals to get the best traits from each. It is not genetic modification! Its a common misconception but a hybrid is still perfectly healthy & safe to choose.
Some varietals will say ‘heirloom’ & these are my favourite! These are the end result of years of home growers saving seed, improving their genetics over time & choosing the best seed for their specific site. Often these seed varieties get sold or traded with other gardeners at seed swaps. Check with your local garden centre if they know of any annual seed swapping events. It’s a great way to meet more experienced gardeners & learn about challenges or solutions unique to your area. You could even find a garden mentor!
Succession Planting for Maximum Yields
Planning your garden planting times & choosing the right varieties goes along way towards ensuring a continuous supply of ripe produce. If you are well prepared & stay on-top of the garden chores you might even be able to ‘sneak’ extra harvests in between the main ones through succession planting.
Succession planting means getting more than one harvest from the same area. This is accomplished by stacking short season crops together. Beets typically take 60 days & are cold hardy, so they could be planted first thing in the spring. When that crop is done there is still time for a fall harvest of another cold hardy crop like kale. Another example could be radishes in the spring followed by fall lettuce.
Lastly, by staggering your plantings you avoid having a glut at any one time of all the plants maturing at once. Having a glut of zucchini seems to be unavoidable in any case! Planting every week or two within the planting window will stretch your harvests out over a longer period of time.
Caring for your Garden
From personal experience I know how easy it is to take on more than you can manage. It all sounds like a great idea in January but come late July don’t be surprised if you’re feeling a bit burnt out. Start small & expand as you build experience & confidence. In the beginning you should plan for about five hours a week for maintenance. This includes watering, weeding, pruning, harvesting & pest control among other tasks & chores.
I divided my garden into 8″x8″ beds rather than rows as I find it easier to tackle one bed at a time. When I had a larger garden I felt like I needed to go to the end of the row to consider it done. I find it makes a big difference psychologically than how I felt about ‘chores’ when my beds were 100ft long!
The important thing to remember, as I have said before, is that a well managed small plot can yield more than a poorly managed large one. Choose accordingly!